By SleekMart
Grabbing a quick screenshot can be an important part of your everyday workflow, whether it’s for your own use or to share with others for collaboration. While taking a screenshot is nothing new, historically, the most simple way to do so has been to click the Print Screen key. Even then, you would still have to use another program to change the screenshot to something that’s usable.
But what if you need something that’s easy to use and full of features, that can do much more than grab a static screen image? For instance, what if you want to record what’s happening on your entire screen or even just a corner? There’s a free solution you might not know about, even though it’s been around for more than a decade. And its features can help with your easiest screenshot needs to fully customized files, ready for presentation.
We’re talking about ShareX screen capture tool, an open-source program that first made its debut way back in 2007. Sure, it’s been around for a while, but it’s continually being modified and improved to give users a easy and streamlined experience. How simple is it to use? Once you download and install, it’s ready to go.
Here are some of the things ShareX can do
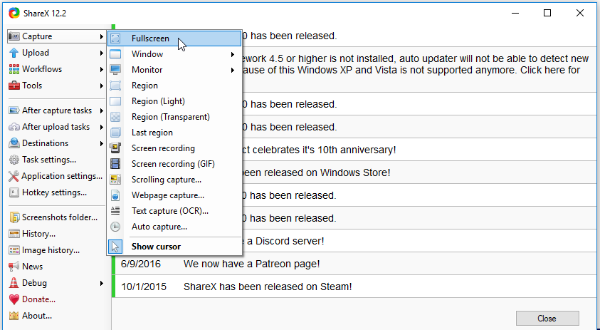
1. The easiest part of the process is the actual capture. Once the program opens, click on Capture in the top left corner. It’ll bring up numerous options such as Fullscreen, which will take a screenshot of your entire desktop, even over multiple monitors.

2. If that option is too broad, check out the Capture drop-down menu to see very specific options, including capturing a specific window, monitor or region of the screen. The same goes for recording what’s on your screen, even creating a GIF. It can handle scrolling capture and other options as well.
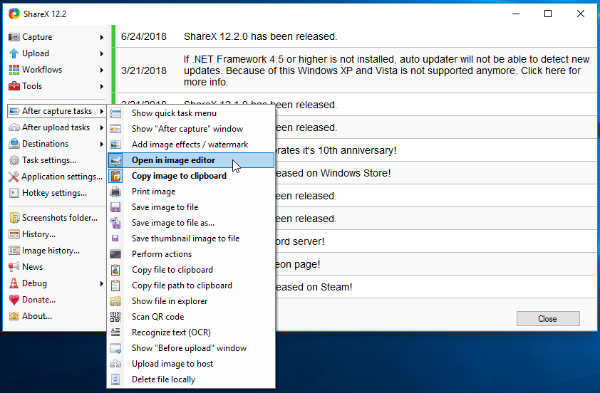
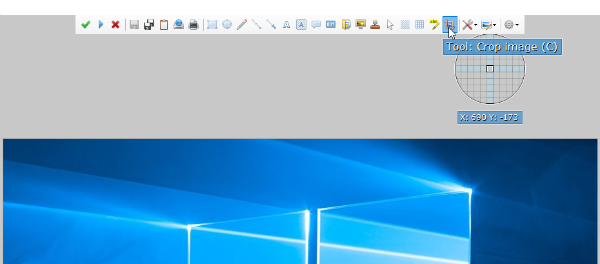
3. Once you have the capture you want, where do you want it to go? With ShareX Screen capture tool, you can set up numerous custom tasks for your captures, including saving it locally, sharing it with others, opening its built-in editor or uploading it to any of dozens of services including, but definitely not limited to, Imgur and Google Photos. Those settings can be accessed through After capture tasks and Destinations.


4. You can also customize Hotkey settings, allowing you to decide how to set up your own keyboard shortcuts. NOTE: Once installed, the default hotkey to capture everything on your monitor(s) is the Print Screen key.

There are a number of similar tools out there, some all-inclusive and others are geared to specific tasks such as snipping web images, but most aren’t as full-featured or free.
